---
title: Query Editor
description: Learn how to create, execute, and visualize SQL queries to analyze data efficiently, enabling informed decision-making with targeted insights
---
import { Aside, Steps } from '@astrojs/starlight/components';
# Query Editor
A query is a request for data or information from a database table or a combination of tables. SQL queries are used to retrieve or manipulate data from the Datasource. You can visualize the results of these queries as charts, graphs, or complex datasets. This section explains how to create SQL queries in Infoveave.
## Creating queries using the Query Editor
You can streamline the process of formulating queries over existing Datasources in Infoveave to efficiently customize, analyze, and modify data. This helps you derive meaningful insights from complex datasets.
1. To write a query in Infoveave over any existing Datasource, click on **Studio** **Queries**. All queries created by you or shared with you are displayed under the tabs **My Queries** and **Shared Queries** respectively.
2. To formulate a fresh query, click on the **New Query** button.
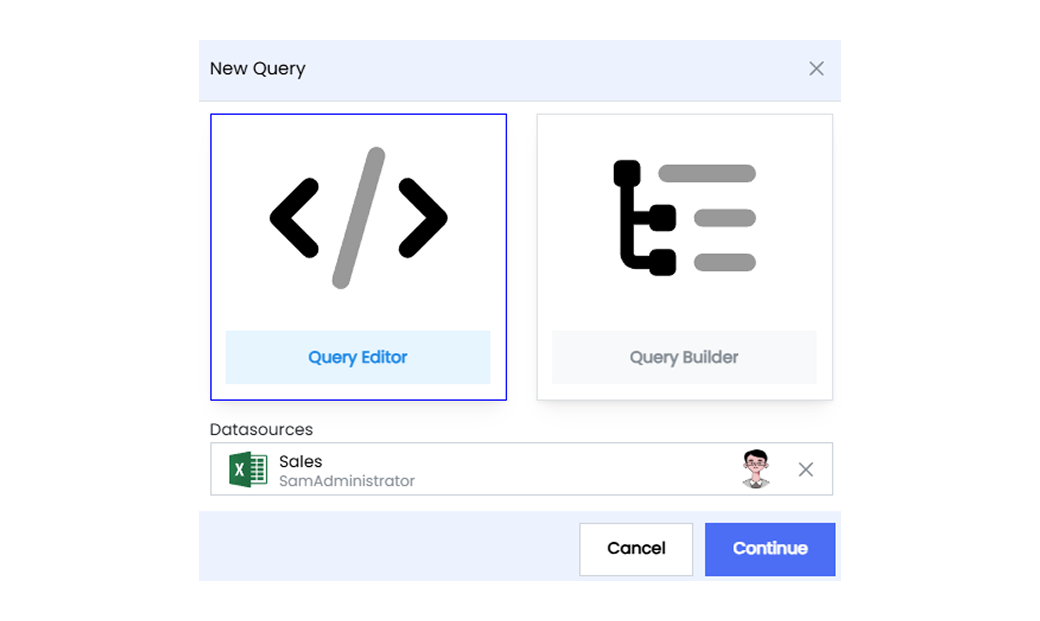
3. Select the **Query Editor** box.
4. Select the **Datasource** you want to use from the drop-down list and click on the **Continue** button.
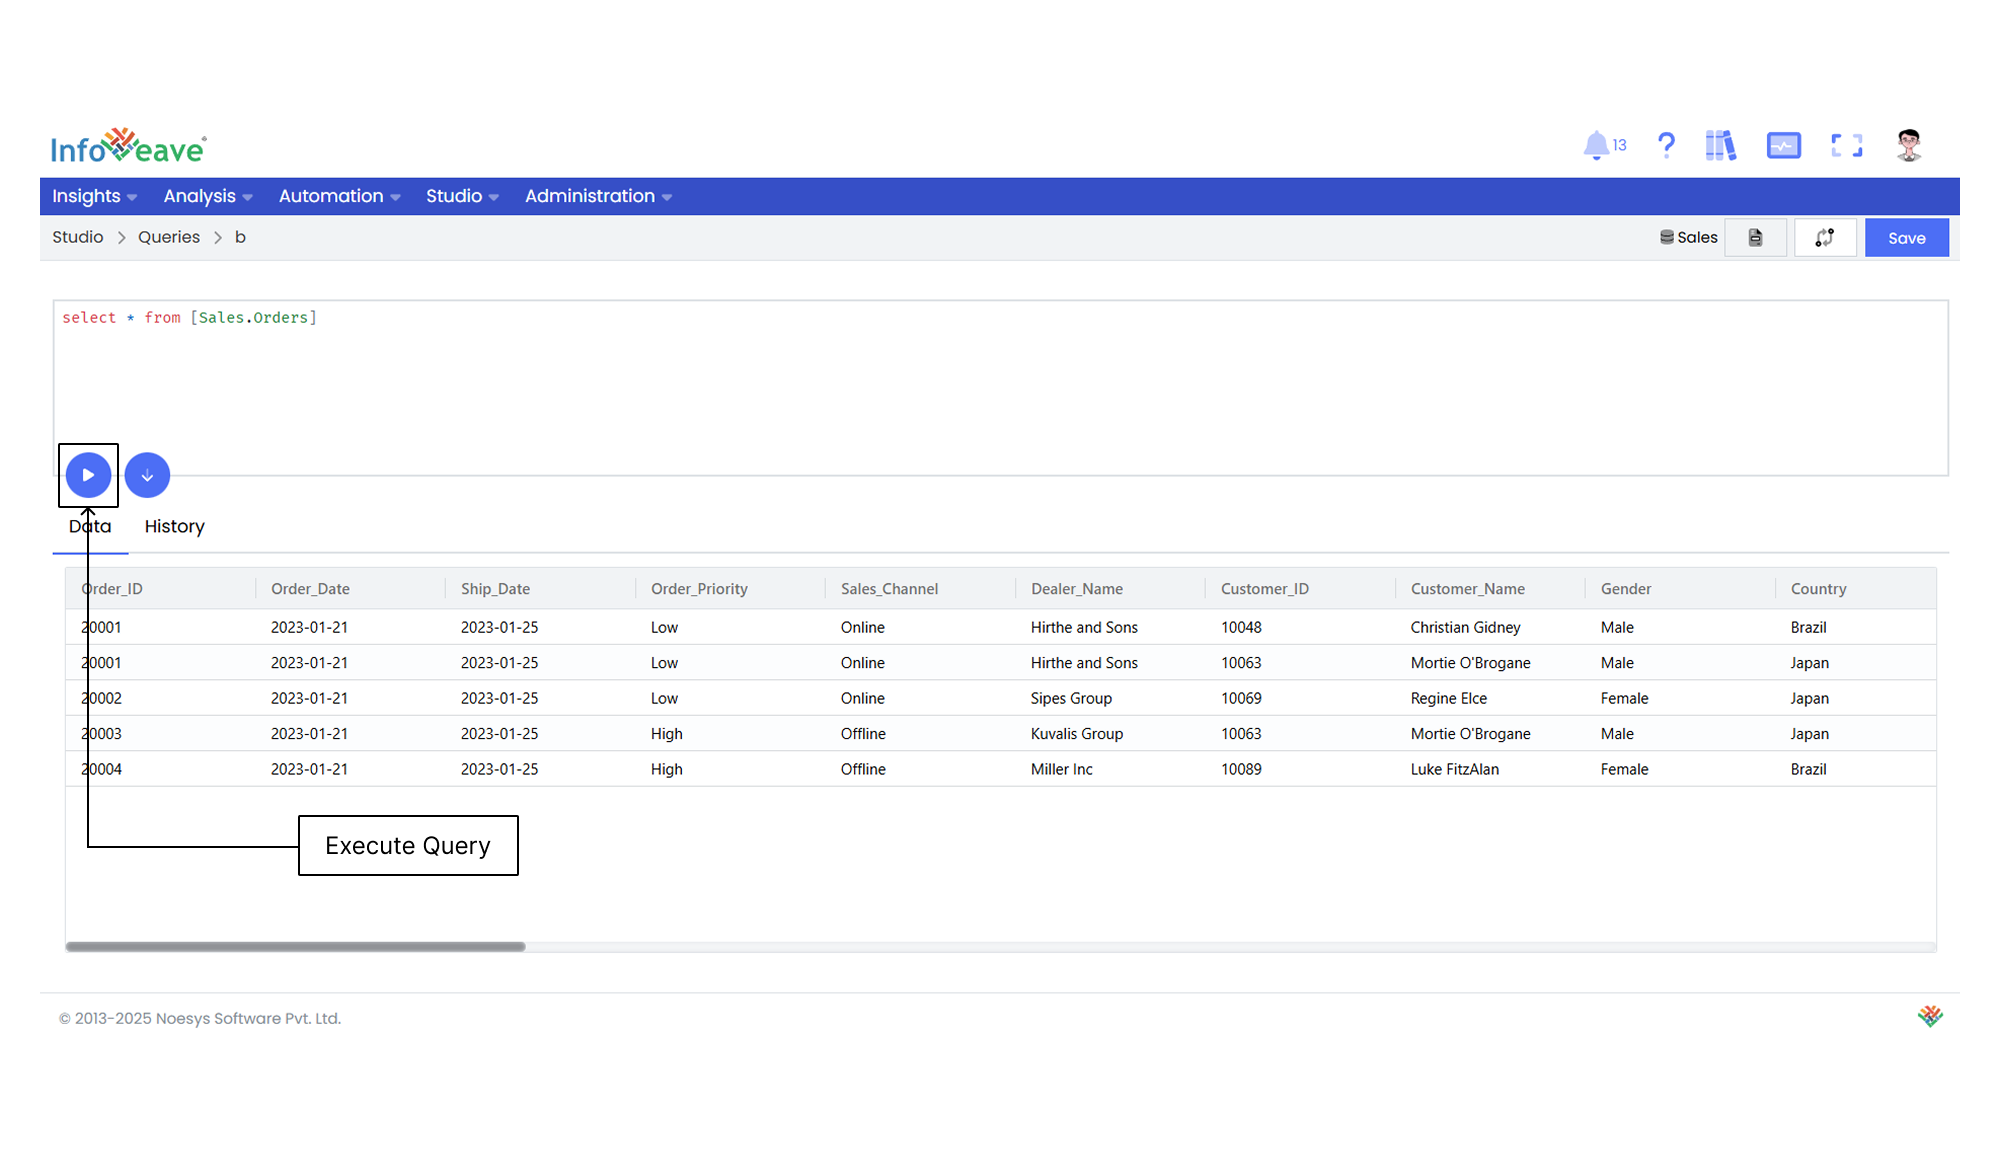
5. Write the required query in the editor box.
6. Click to execute the query. The viewer box displays the query results in a tabular form.
7. View the query run history from the **History** tab.
8. After executing the query, click on **Save** if you wish to save the SQL query. You can save it either as a new query or as an update to the existing query.
9. To retain it as a new query, use the **Save as new** option. Provide a query name and click **Save**.
10. To update an existing query, select the **Update existing** option. Enter the query name that requires updating and click **Save**.
11. To view the changes, click on **Version history** icon.
12. Click on **Show as Report** icon on the required query to generate a report based on that query.
13. You can also edit the datasource by clicking on **Edit datasource** icon.