
Managing Folders
Infoveave lets you set up public folders to organize your assets in the Infoveave modules for public viewing. You create public folders and organize your Infoboards, reports, queries, and other assets for easy understanding.
Adding a Folder
Steps to create a folder
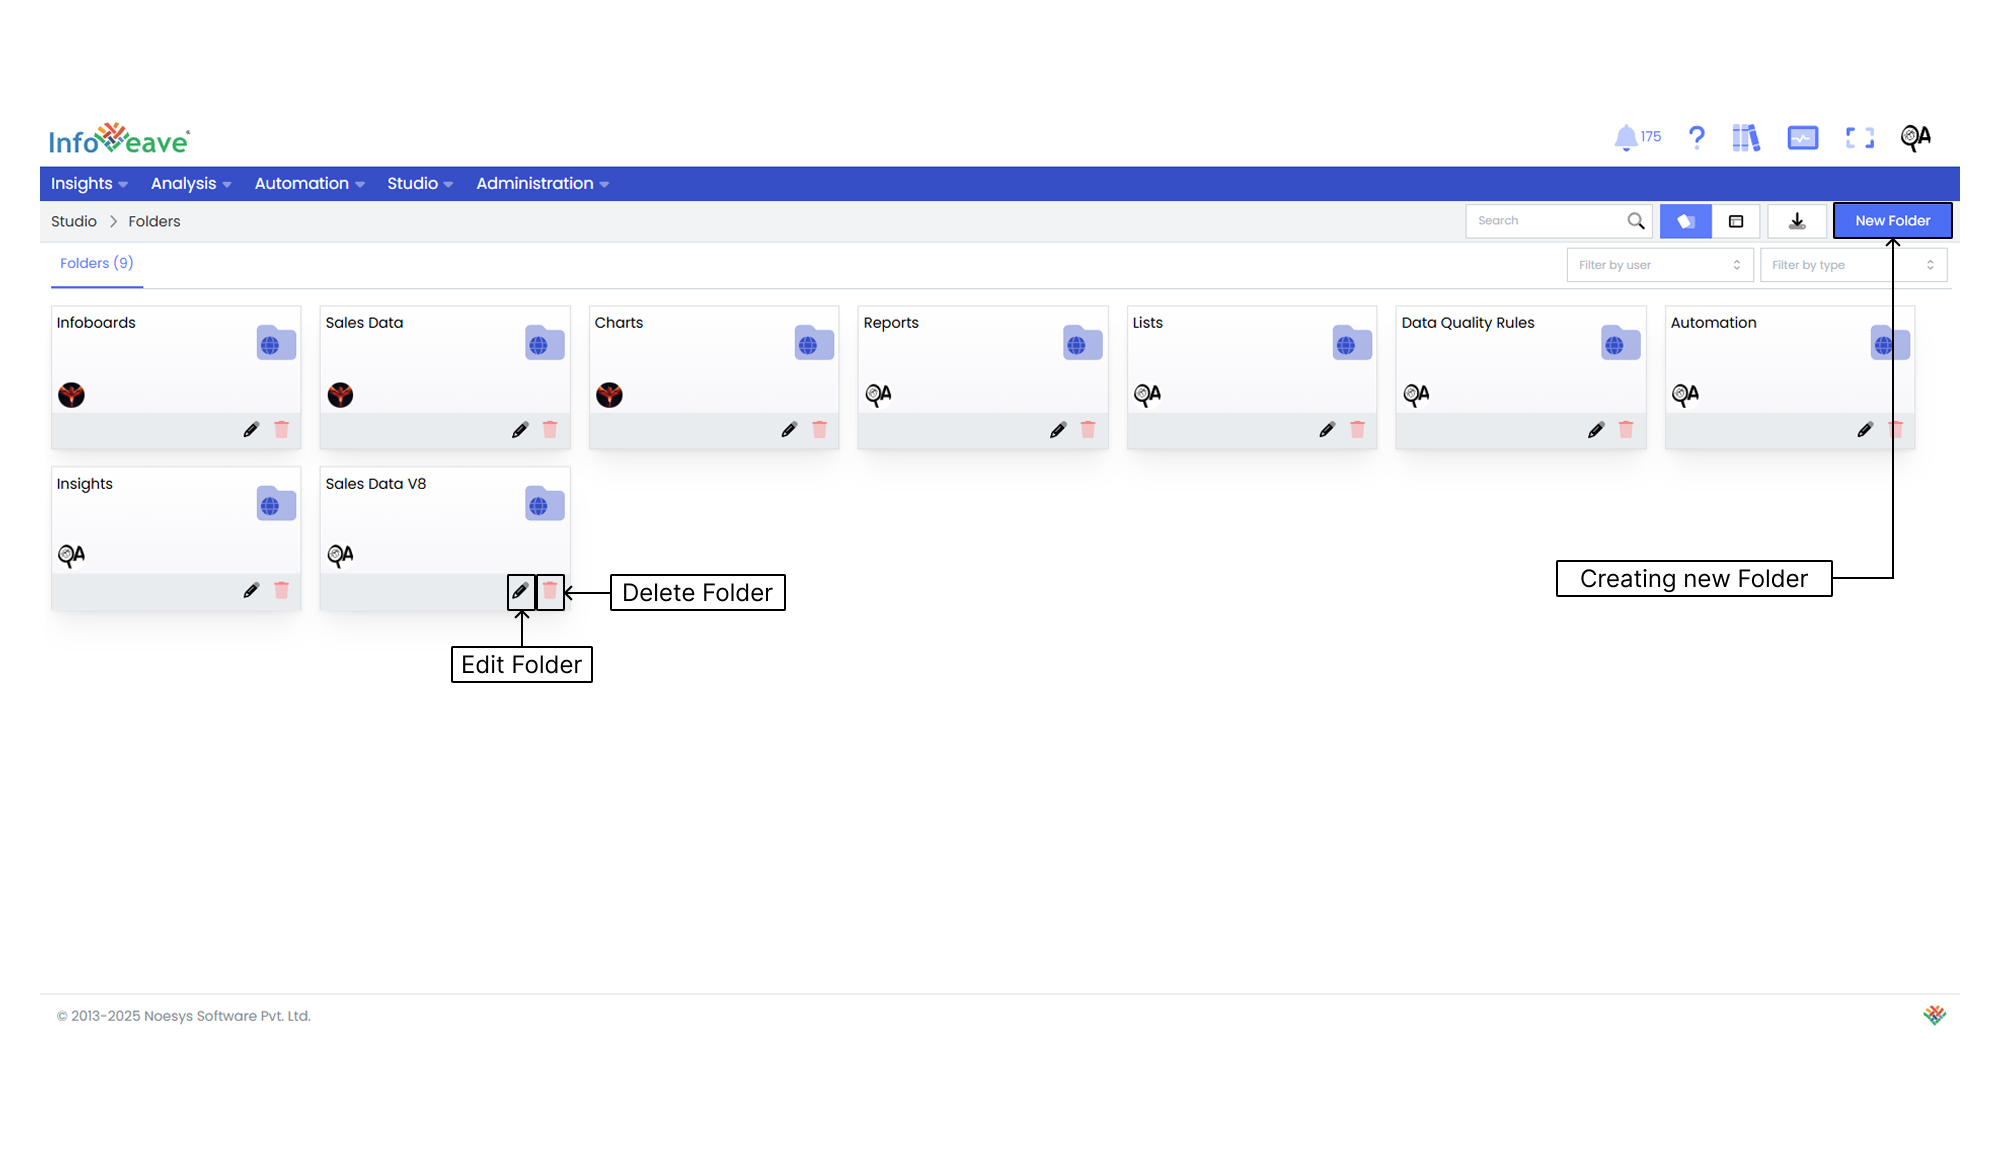
- To add a folder in Infoveave, click Studio Folders. All the folders you create appear under the Folders tab.
- To add a new folder, click New Folder.
- Name the new folder.
- Click Save to add the folder to Infoveave.
Editing a Folder name
Edit a folder name to ensure it reflects and meets your evolving requirements.
To modify a folder name in Infoveave, follow these steps
- Navigate to Studio Folders.
- Find the specific folder you want to edit.
- Click the Edit icon associated with the folder.
- After you make the necessary changes, click Save to apply your edits.
Deleting a Folder
To delete a folder in Infoveave, follow these simple steps
- Navigate to Studio Folders.
- Find the folder you want to delete.
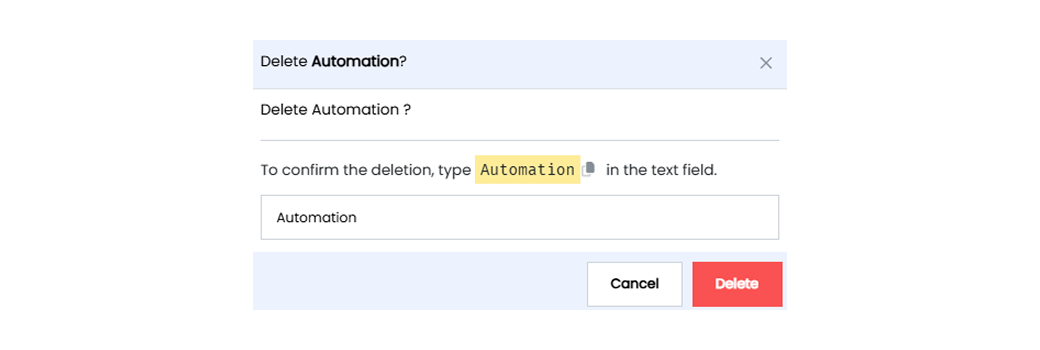
- Click the Delete icon.
- Type the specified text in the provided text field.
- Alternatively, copy the text from the icon and paste it in the text field.
- After you enter the correct text, click Delete.