---
title: Managing Media
description: Manage, view, and organize media files. Supports various formats, with options for descriptions and deletion.
---
import { Aside, Steps } from '@astrojs/starlight/components';
# Managing Media
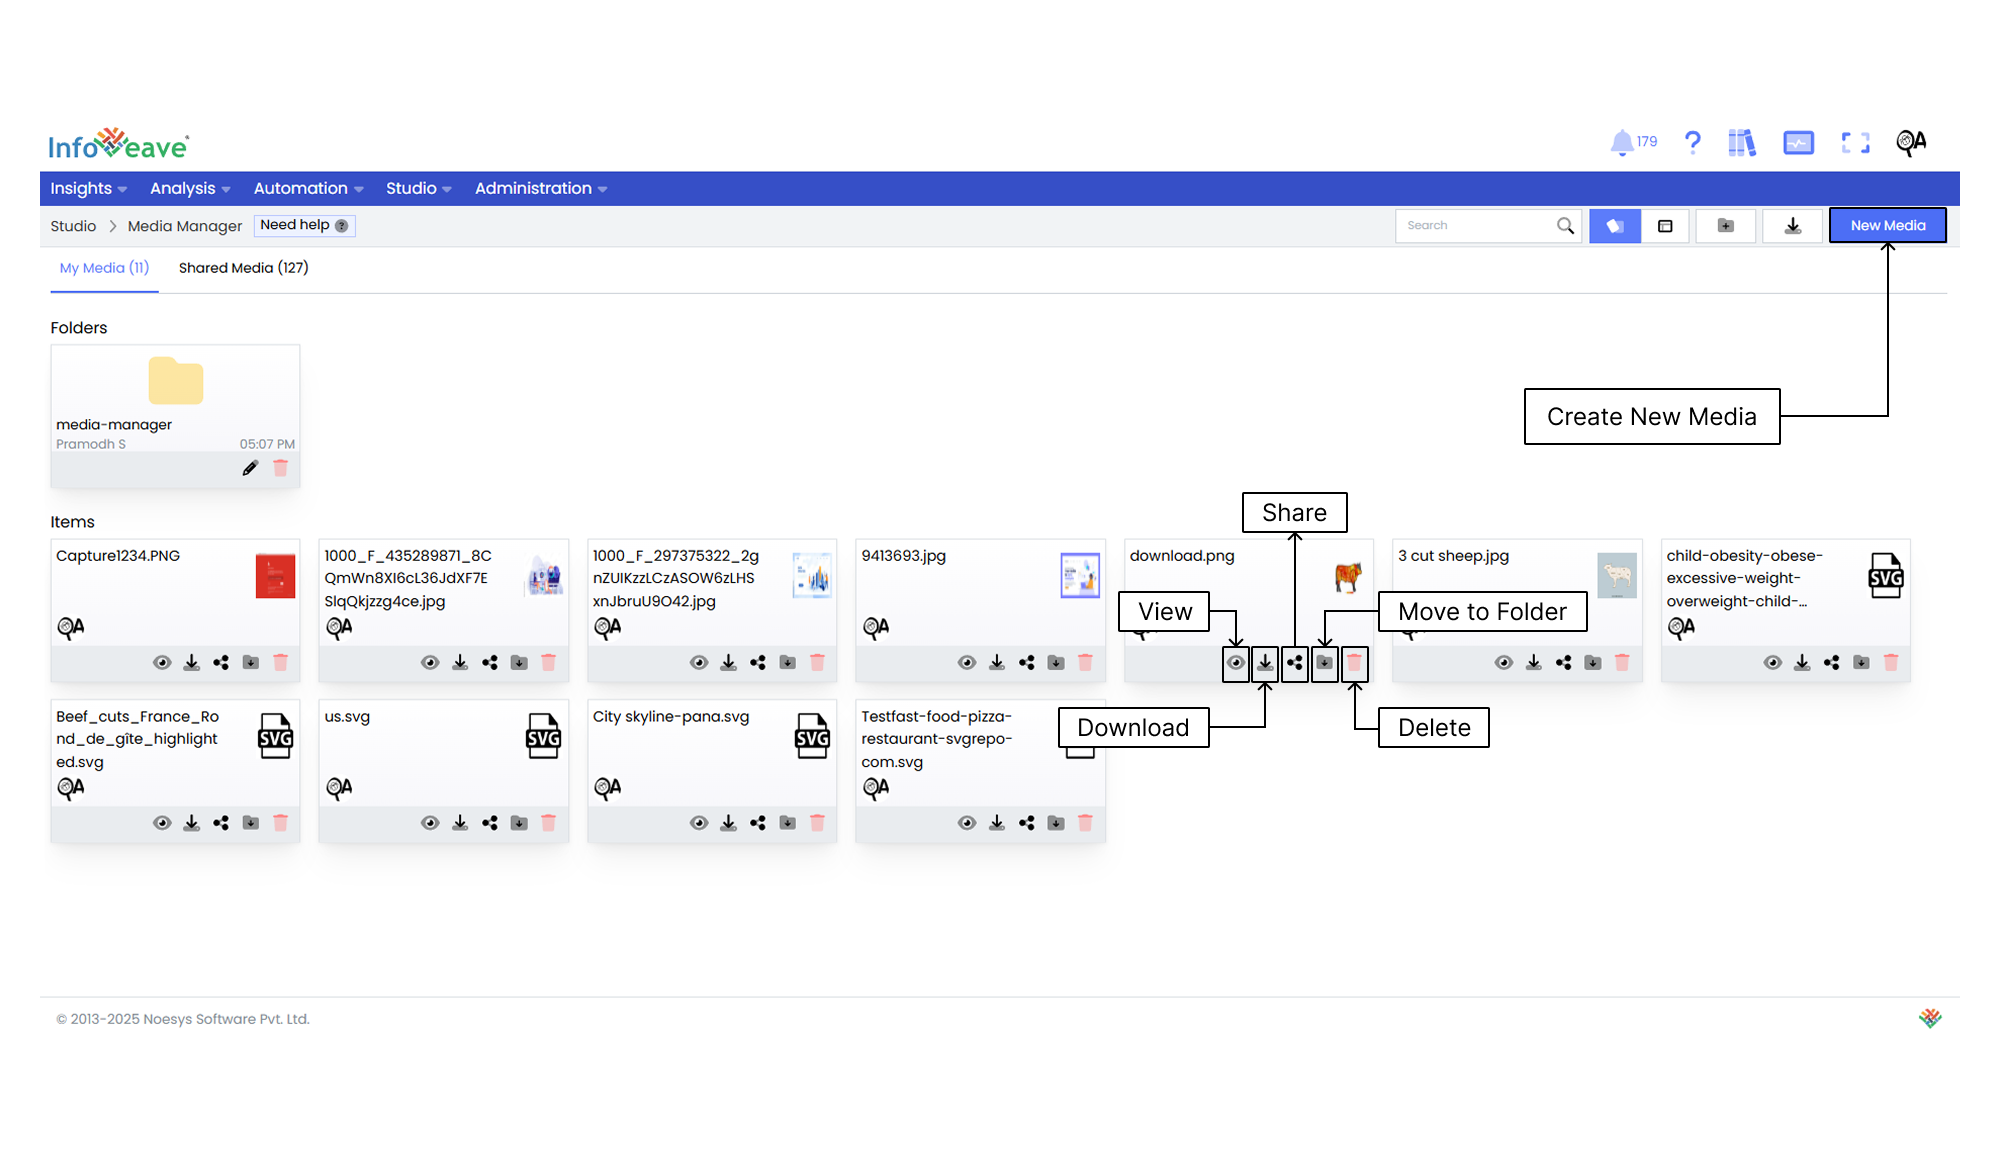
You can manage your media using options such as **View, Download, Share, Move to Folder**, and **Delete**.
## Previewing a Media File
Infoveave allows you to view and interact with various types of media files. Follow these steps to preview and download media files.
1. Navigate to **Studio Media Manager**.
2. Locate the media file you want to preview.
3. Click on the **View** icon. This action opens a preview window displaying the media content.
4. Click on the media file URL. This action starts the download process for the media file.
## Sharing a Media File
Sharing options such as sharing with specific users or roles provide control and flexibility in distributing the media to the right audience. This ensures efficient utilization of the feature.
You can share your media files with other users or roles. Follow these steps to share your media.
1. Navigate to **Studio Media Manager**.
2. Click on the **Share** icon to share the media with your team or role.
3. Select between the available options — Share with User or Share with Role.
4. If you choose Share with User, select the user or users you want to share the media with.
5. If you want to share the media with all users, select the **Share with Everyone** option.
6. If you choose to share with a role, pick the roles you want to share the media with from the share dialogue box.
7. To remove a specific user or role from the shared list, uncheck the corresponding checkbox.
8. Click **Save** to share your media with the selected users or roles.
## Moving to a Folder
Organize your media files by moving them to designated folders.
To organize your media into folders, follow these steps.
1. Navigate to **Studio Media Manager**.
2. Select the media file you want to move by clicking on the **Move to Folder** icon.
3. Choose the desired folder from the dropdown menu.
4. Click the **Save** button to complete the move.
## Deleting a Media File

To delete a media file in Infoveave, follow these steps.
1. Navigate to **Studio Media Manager**.
2. Find the media file you want to delete.
3. Click on the **Delete** icon .
4. Type the specified text from the warning message into the provided text field.
5. Alternatively, you can copy the text from the icon and paste it into the text field.
6. Once you have entered the correct text, click on **Delete**.